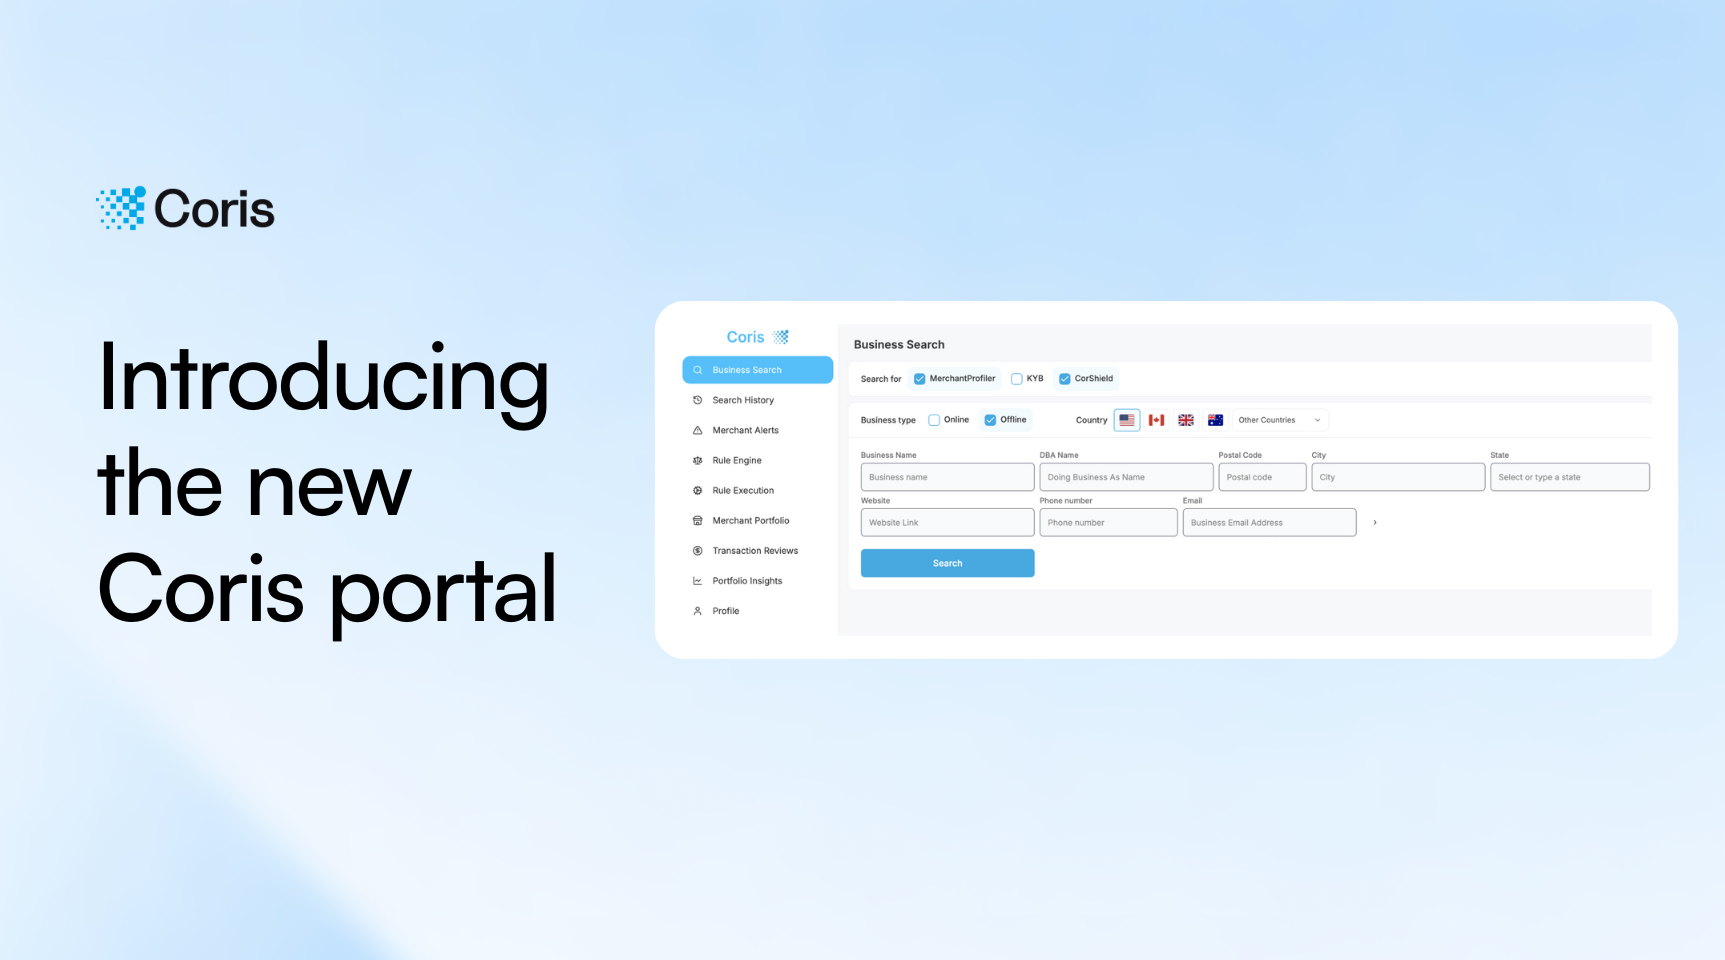
Today, we’re excited to announce the new Coris portal. With this new UI, customers can personalize their Coris dashboard to match their ideal workflows and work more efficiently.
Even small design improvements can lead to much faster risk decisioning. We’re excited to see how customers leverage this new UI to onboard, underwrite, and monitor merchants even more effectively.
Why did we build a new portal?
Our product has grown tremendously in the past couple of months. As we scaled, we noticed our product was quickly outgrowing the initial UI we built over the course of a few days.
We wanted to upgrade our portal from a simple visual dashboard to a truly customizable experience that would feel native to every risk team’s workflow. After gathering customer feedback, we spent a few months brainstorming the new user experience we wanted to deliver, and re-architected the portal from there.
Portal overview
The new Coris portal combines the simplicity of our initial dashboard with the deep customizability our customers are used to with homegrown tools. Here’s a quick overview of key changes:
- Multiple products: Customers can easily toggle between different Coris products, or access multiple products simultaneously. This is especially useful if you’re running multiple checks on a merchant. For example, you can run KYB and online reputational checks simultaneously by selecting KYB and MerchantProfiler. Other risk platforms require running these checks independently.
- Intuitive account tags and alerts: We’ve added a sidebar for account tags in our platform dashboard. This makes it easier for analysts to save merchant notes and tags as they run through their backlog. Additionally, we’ve created a separate tab for risk alerts, allowing analysts to take faster action on warning signals.
- Custom filters and columns for each teammate: Risk teams gather lots of data on merchants, and they need an easy way to view the 20% of information that drives 80% of risk decisioning. Now, each team member using our platform can filter alerts based on the signals they care about, select the key columns that matter for their risk workflow, and retain that view for future reference.
- Consolidated merchant profiles: MerchantProfiler gathers hundreds of data points on merchants. Our new information architecture packages these insights in a more digestible view across 5 concrete tabs: business info, registration, website, address metadata (such as MerchantVision), and licenses / permits.
- Search history: Sometimes, you need to refer back to a specific merchant that you or a teammate were reviewing. Search history lets you check previous queries , and share these queries with a colleague. This can help accelerate manual reviews.
- Data history: This enables point-in-time comparisons for a given merchant. For example, if a risk analyst reviews a merchant’s information at the time of underwriting and again a month later, they can see the data disparities between the time periods and flag any meaningful changes.
- Rule execution: Teams can now set up certain actions to automatically occur based on custom event triggers or on a scheduled basis. One common example is executing underwriting actions post-onboarding. Once a merchant onboards on Stripe or Adyen, teams can create a new event-driven action, select account.onboarding, select the MerchantUnderwriting rule family, and choose a specific action (e.g., account review or pause payouts) to occur if the conditions within that rule family are met.
Want to learn more?
Reach out if you’d like to learn more about our new portal, or if you have any feedback on how we can make your experience even better.
